Together with shutter speed and aperture, ISO is one of the fundamental controls that you can use to balance the exposure of an image. Unlike the other controls though, ISO does not change the qualities of the light that passes through the lens and is recorded by the sensor. Instead, increasing the ISO increases the sensitivity of the sensor with the result that less light is needed to record an image. This flexibility means that rather than having to compromise between the perfect aperture and shutter speed to expose an image, both can be set as desired and the ISO then adjusted to give the perfect exposure (within limits).
For example, let’s say we are shooting a wedding in a dim room. We are using a lens with a 70mm focal length and in this situation we want to use an aperture of f5.6 to make sure a group shot is in reasonably sharp focus from front to back. We set the aperture, and also set a shutter speed of 1/70th of a second to avoid any motion blur. Checking the exposure meter, we find that the picture is underexposed by 2 stops! We don’t want to use a larger aperture or slower shutter speed, so the best option is to increase ISO. Increasing the ISO from 100 (the most common default setting) to 400 (the ISO rating doubles for each stop) should now give us the desired exposure.
Increasing ISO isn’t without a price though – at higher ISO settings visual ‘noise’ or grain becomes obvious in a picture. Unlike other camera settings, this effect of ISO varies significantly between camera brands and models. Some cameras produce subtle or at least natural looking noise at higher ISOs, while others can produce garish and objectionable grain that makes an image hard to use for much at all. As a rule of thumb though, ISO 100-400 will produce low-moderate amounts of noise, 800 is an upper-medium setting, and 1600 and above will produce very obvious noise in the image. Sensors in modern digital SLRs are increasingly good at keeping high ISO noise under control but it is useful to test all settings in the ISO range and evaluate the images to find what is acceptable for your own tastes.

ISO noise can be categorised into two main types – chrominance and luminance. Of the two, chrominance noise is more likely to impact image quality noticeably as it causes coloured blotches to appear in the image. Luminance noise makes the image grainier as well, but this can be used to create atmospheric effects for particular images.

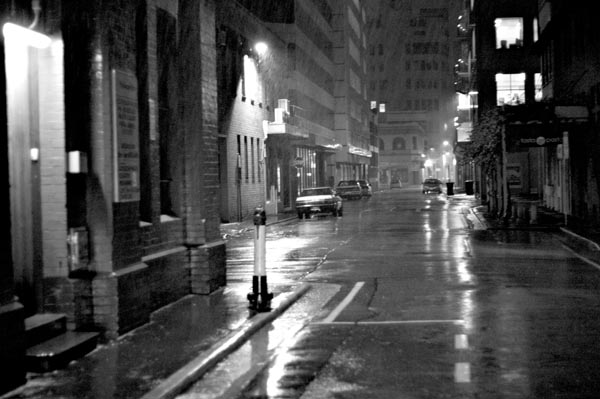
One way to deal with the effects of noise is to convert the image to black and white, simulating the look of an old black and white film shot. This can be an effective way to salvage a shot that was otherwise too noisy to use! Anotehr option is to use noise reduction software, either specialised software such as Noise Ninja (a popular Photoshop plugin) or the settings in your cameras supplied software. Reducing noise via software can result in a less sharp image though, so it is preferable to shoot with the lowest ISO setting possible most of the time.